Introduction
The North Amercia Nebula is the first nebula I tried to photograph in my journey. It is also the nebula where I noticed that I need something more than a simple tripod. It is the nebula I tried my Star Adventurer GTI first on. And it is the nebula I revisited because it was in a perfect position after not shooting for months because of clouds.
Like I said, my previous attempts weren’t very successful. On my tripod I didn’t even see it and with my Star Adventurer GTI I had many other issues I needed to solve that night so it didn’t work out either. So, after weeks of clouds, there was one night with a break in the clouds, a late rising moon and the North American Nebula near the zenith so I did go for it.
Image acquisition
Gear
As my previous Image this was shot with an unmodified Canon 1000D with the 18-55mm kit lens and mounted on my StarAdventurer GTI. I used my old Laptop to run N.I.N.A. to control the mount and camera.
I collected nearly 2 hours of data at ISO 800, 300 Seconds for each subframe. I also took 5 dark frames and 10 light frames from my backyard in a Bortle 5 location.
N.I.N.A.
As before I used N.I.N.A. to control my mount and camera, but this time I had some new tricks on my sleeve:
Plate solving
This was new for me. I couldn’t get it to work last time but I prepared and was ready for plate solving.
It basically takes a picture from where the camera currently is pointing at, analyzes it so it knows where it is pointing at and recalculates where the target should be. Then the mount slews and it repeats until the target is centered. This makes live so much easier because I don’t need to do a 3 star alignment anymore, which is kind of hard since I’m surrounded by trees and buildings.
Dithering
Last time I tried to dither, but it gave me a strange error about no guide scope being connected (I don’t have one) that I didn’t link to the dithering and afterwards some bad walking noise. So I did read up on this and it turns out, that you have to connect a “software guider” which will fake the guiding and allow for dithering without a real guide scope.
Dithering will slew a tiny amount between a set number of frames so fixed pattern noise (think of a noise pattern that every image has) and hot pixel (basically dead pixel on your sensor that are either red, green or blue) won’t be so clear after stretching.
Some say one don’t need to take dark frames with dithering but I didn’t want to take any chances since this is and will be the only clear night for weeks.
Post Processing
Deep Sky Stacker
Nothing much to say here. The only important thing is drizzling since I use dithering while taking the image. Drizzle will enlarge the image so during stacking it can get finer details due to pixel shift. Not sure what’s the technical term here but the border of a star will be in one pixel in one image and in the neighboring pixel on another image. During stacking this will lead to more details.
Siril
After stacking I start with a basic Crop and Background extraction in Siril. After that some photometric color calibration. This one is new to me because previously it never worked for me if I tried it. Because I drizzle, my image is twice as large but I read somewhere that I don’t need to change the focal length in my settings. Turns out I need to do that to make the color calibration work.
Color matrix correction in GIMP
This is also new to me. I cam across a redit post mentioning color matrix correction. What is does is adjusting for the color offset caused by the camera filters. In my picture of the andromeda galaxy I assumed the shifted colors are from color fringing of the lens, but turns out my image needed a color matrix correction.
There is a option for pixel math in PixInsights, but I don’t have that software. Instead I use gimp and there is this handy plugin which will do the same: GitHub page of the pixel math plugin
Now I need the color matrix for my camera from here: dxomark camera tests for a Canon 1000D
With that I can apply the color matrix correction:
R = 1.8*R-0.93*G+0.13*B
G = -0.18*R+1.59*G-0.41*B
B = -0.32*G+1.32*B
Back to Siril
After that I continued with StarNet, Stretching the starless image and after that recombining to add the stars back.
Final touches in GIMP
Finally I scaled the image down (size was increased due to drizzling) and added the annotation.
Final image
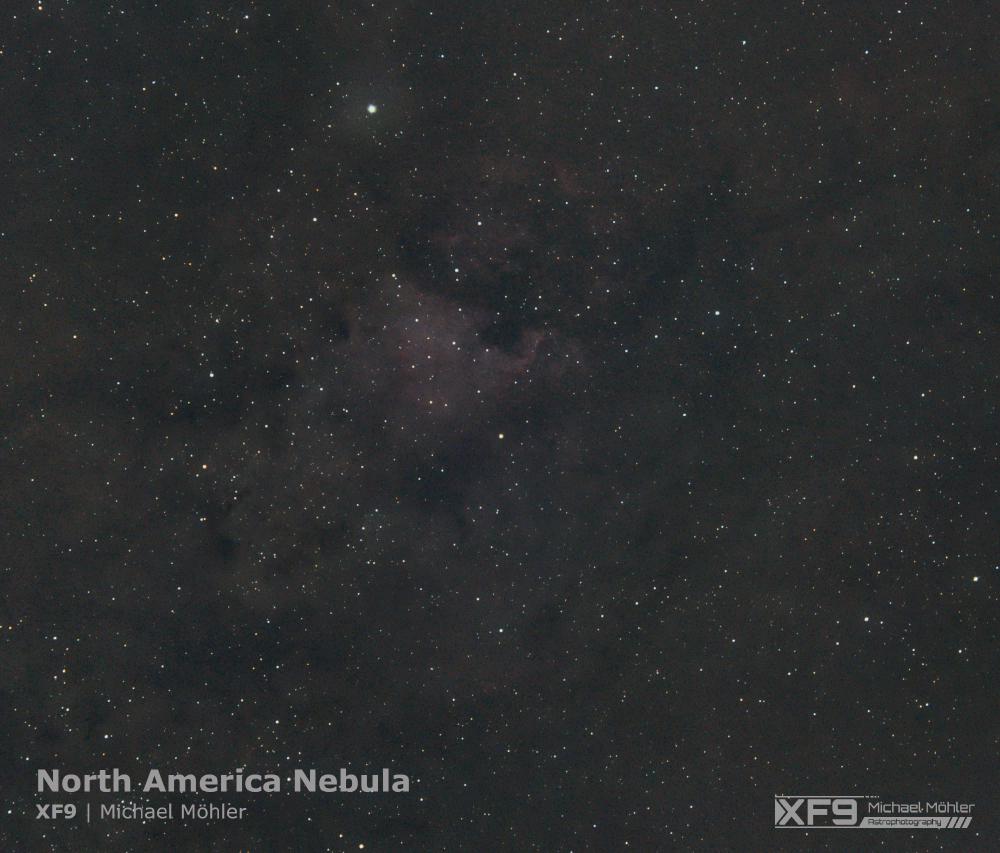
And this is the final result:

