Gear
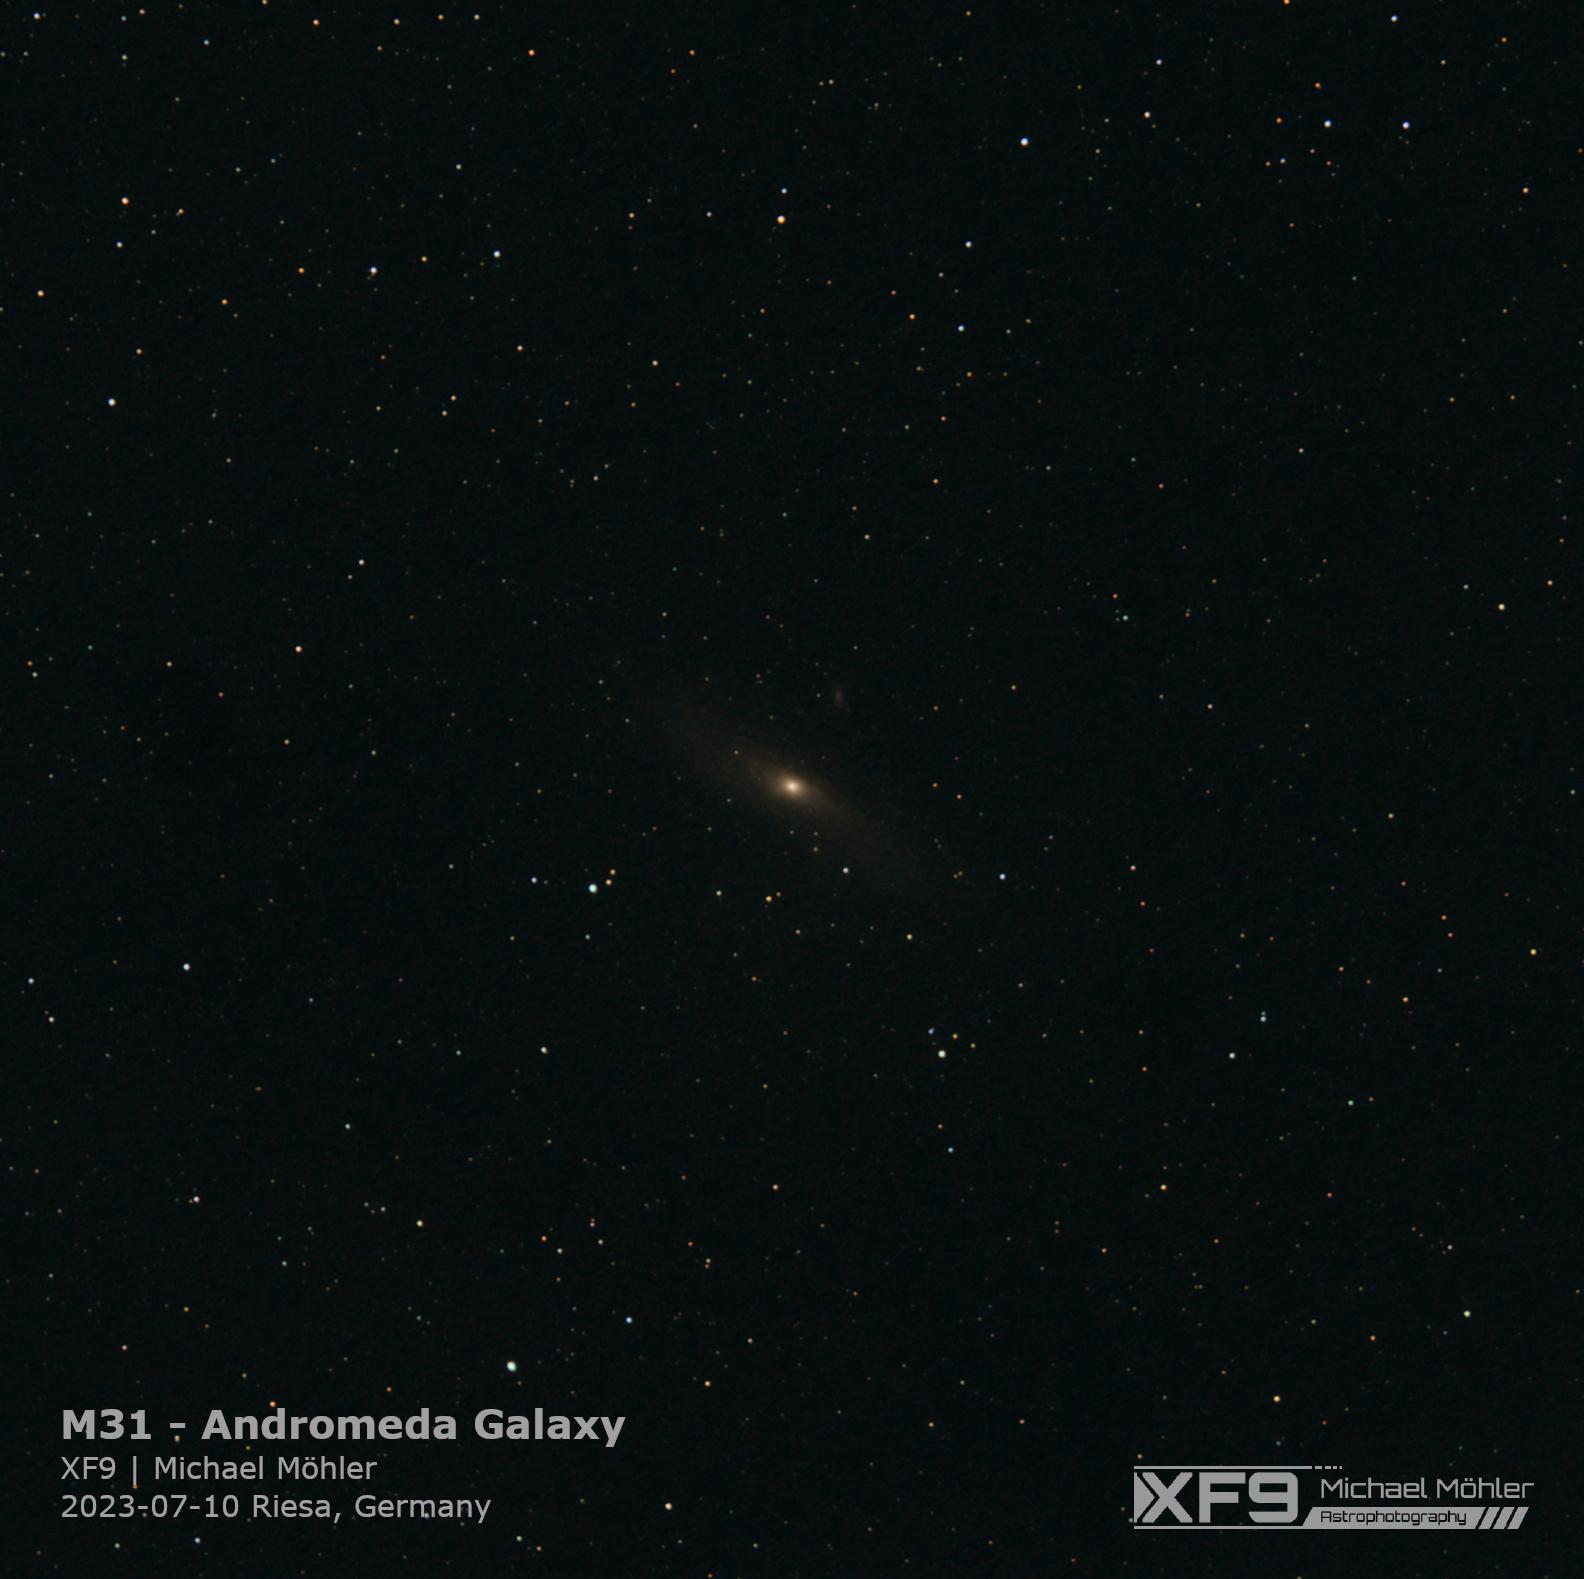
I am currently using my trusty Canon 1000D with the 18-55mm kit lens. I have it mounted on a StarAdventurer GTI for longer exposure times. This image was shot at a focal length of 55mm, giving me the largest galaxy I can get, but also some color fringing. Guess I need to spend some money on more gear ;)
With this setup I took 60 light frames at 180 seconds each at ISO 800. I also took 5 dark frames and no light frames from a Bortle 5 area.
Image acquisition
N.I.N.A.
This time I took my laptop with me so I could try out N.I.N.A. for the first time. I did some dry runs the day before so I had a rough idea of what I want to do. But I did it indoors during the day so I never checked on how to slew to a target. And this is where I had some issues during the night.. I wasted quite some time trying to manually center the Andromeda galaxy. Next time I need to set up proper plate solving to speed things up.
Other than that there weren’t any issues, though I just used basic functionality because of my limited experience.
Post Processing
Siril
Here I used my default workflow consisting of the following steps:
- Crop
- Background Extraction
- StarNet
- Stretching / Saturation boost
- Recombine
StarNet in Siril has been a gamechanger for me. It allows to extract the stars and stretch the remaining “background” only. After that I can just add the brightest stars back in, gone are the days of star reduction in gimp.
GIMP
I used GIMP to add the text, nothing more :)
Final image
So here it is: