The heart nebula

Besides it’s very distinctive shape it has a fitting color due to the ionized hydrogen which glows red in the visible spectrum. The energy required for the ionization is emitted from the center of the heart, the open star cluster Merlotte 15. Merlotte 15 consists of several stars, some having roughly 50 times the size of our sun.
At the tip of the heart is it’s brightest part, which was discovered first in 1797 by William Herschel. It’s cataloged as NGC 896 and named the Fishhead nebula.
Size wise it’s a quite large structure, spanning nearly 4 times the full moon across. It’s approximately 7500 light years away, which means that what we see today happens way back when our ancestors just started farming. Quite mind blowing if you think of it - isn’t it?
The soul nebula
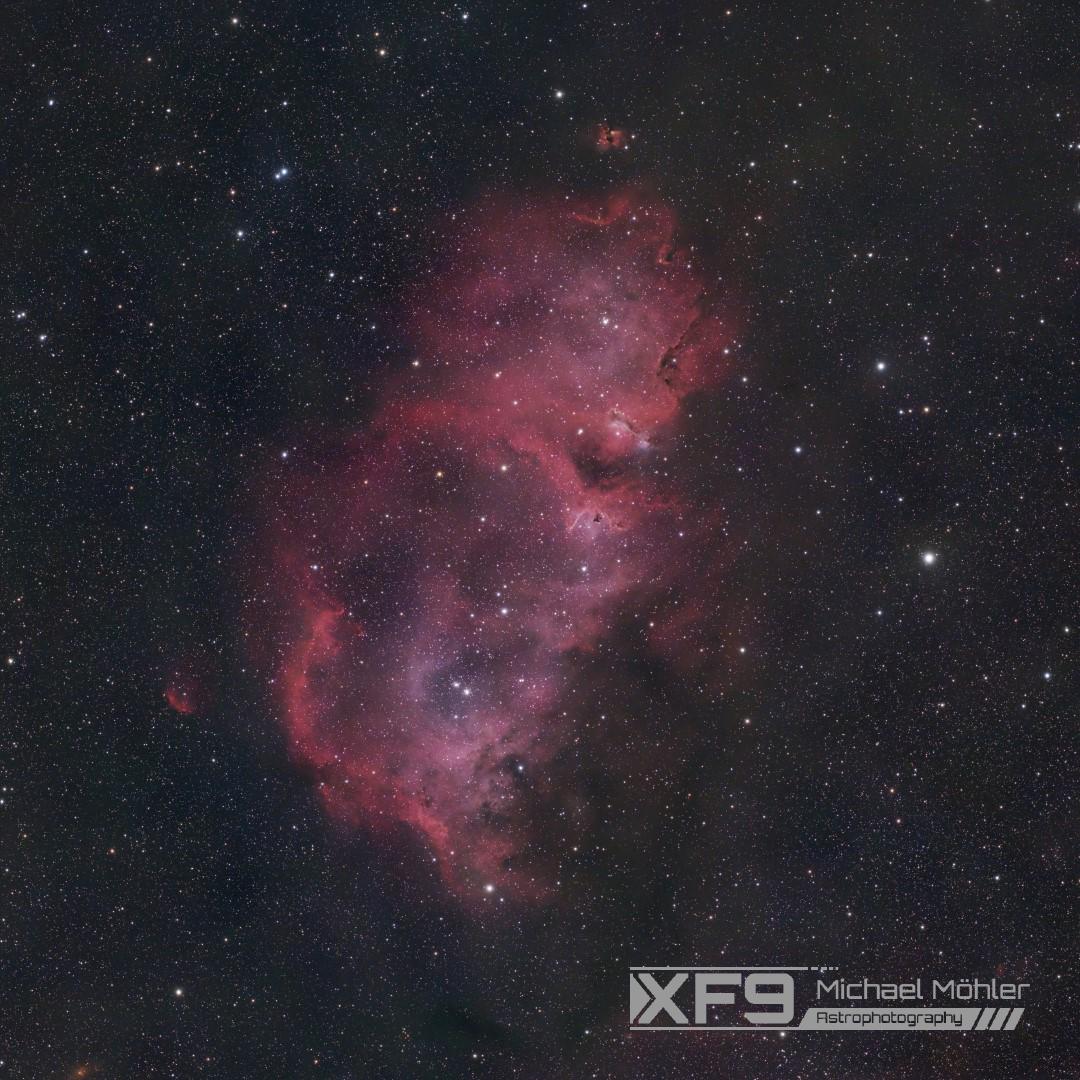
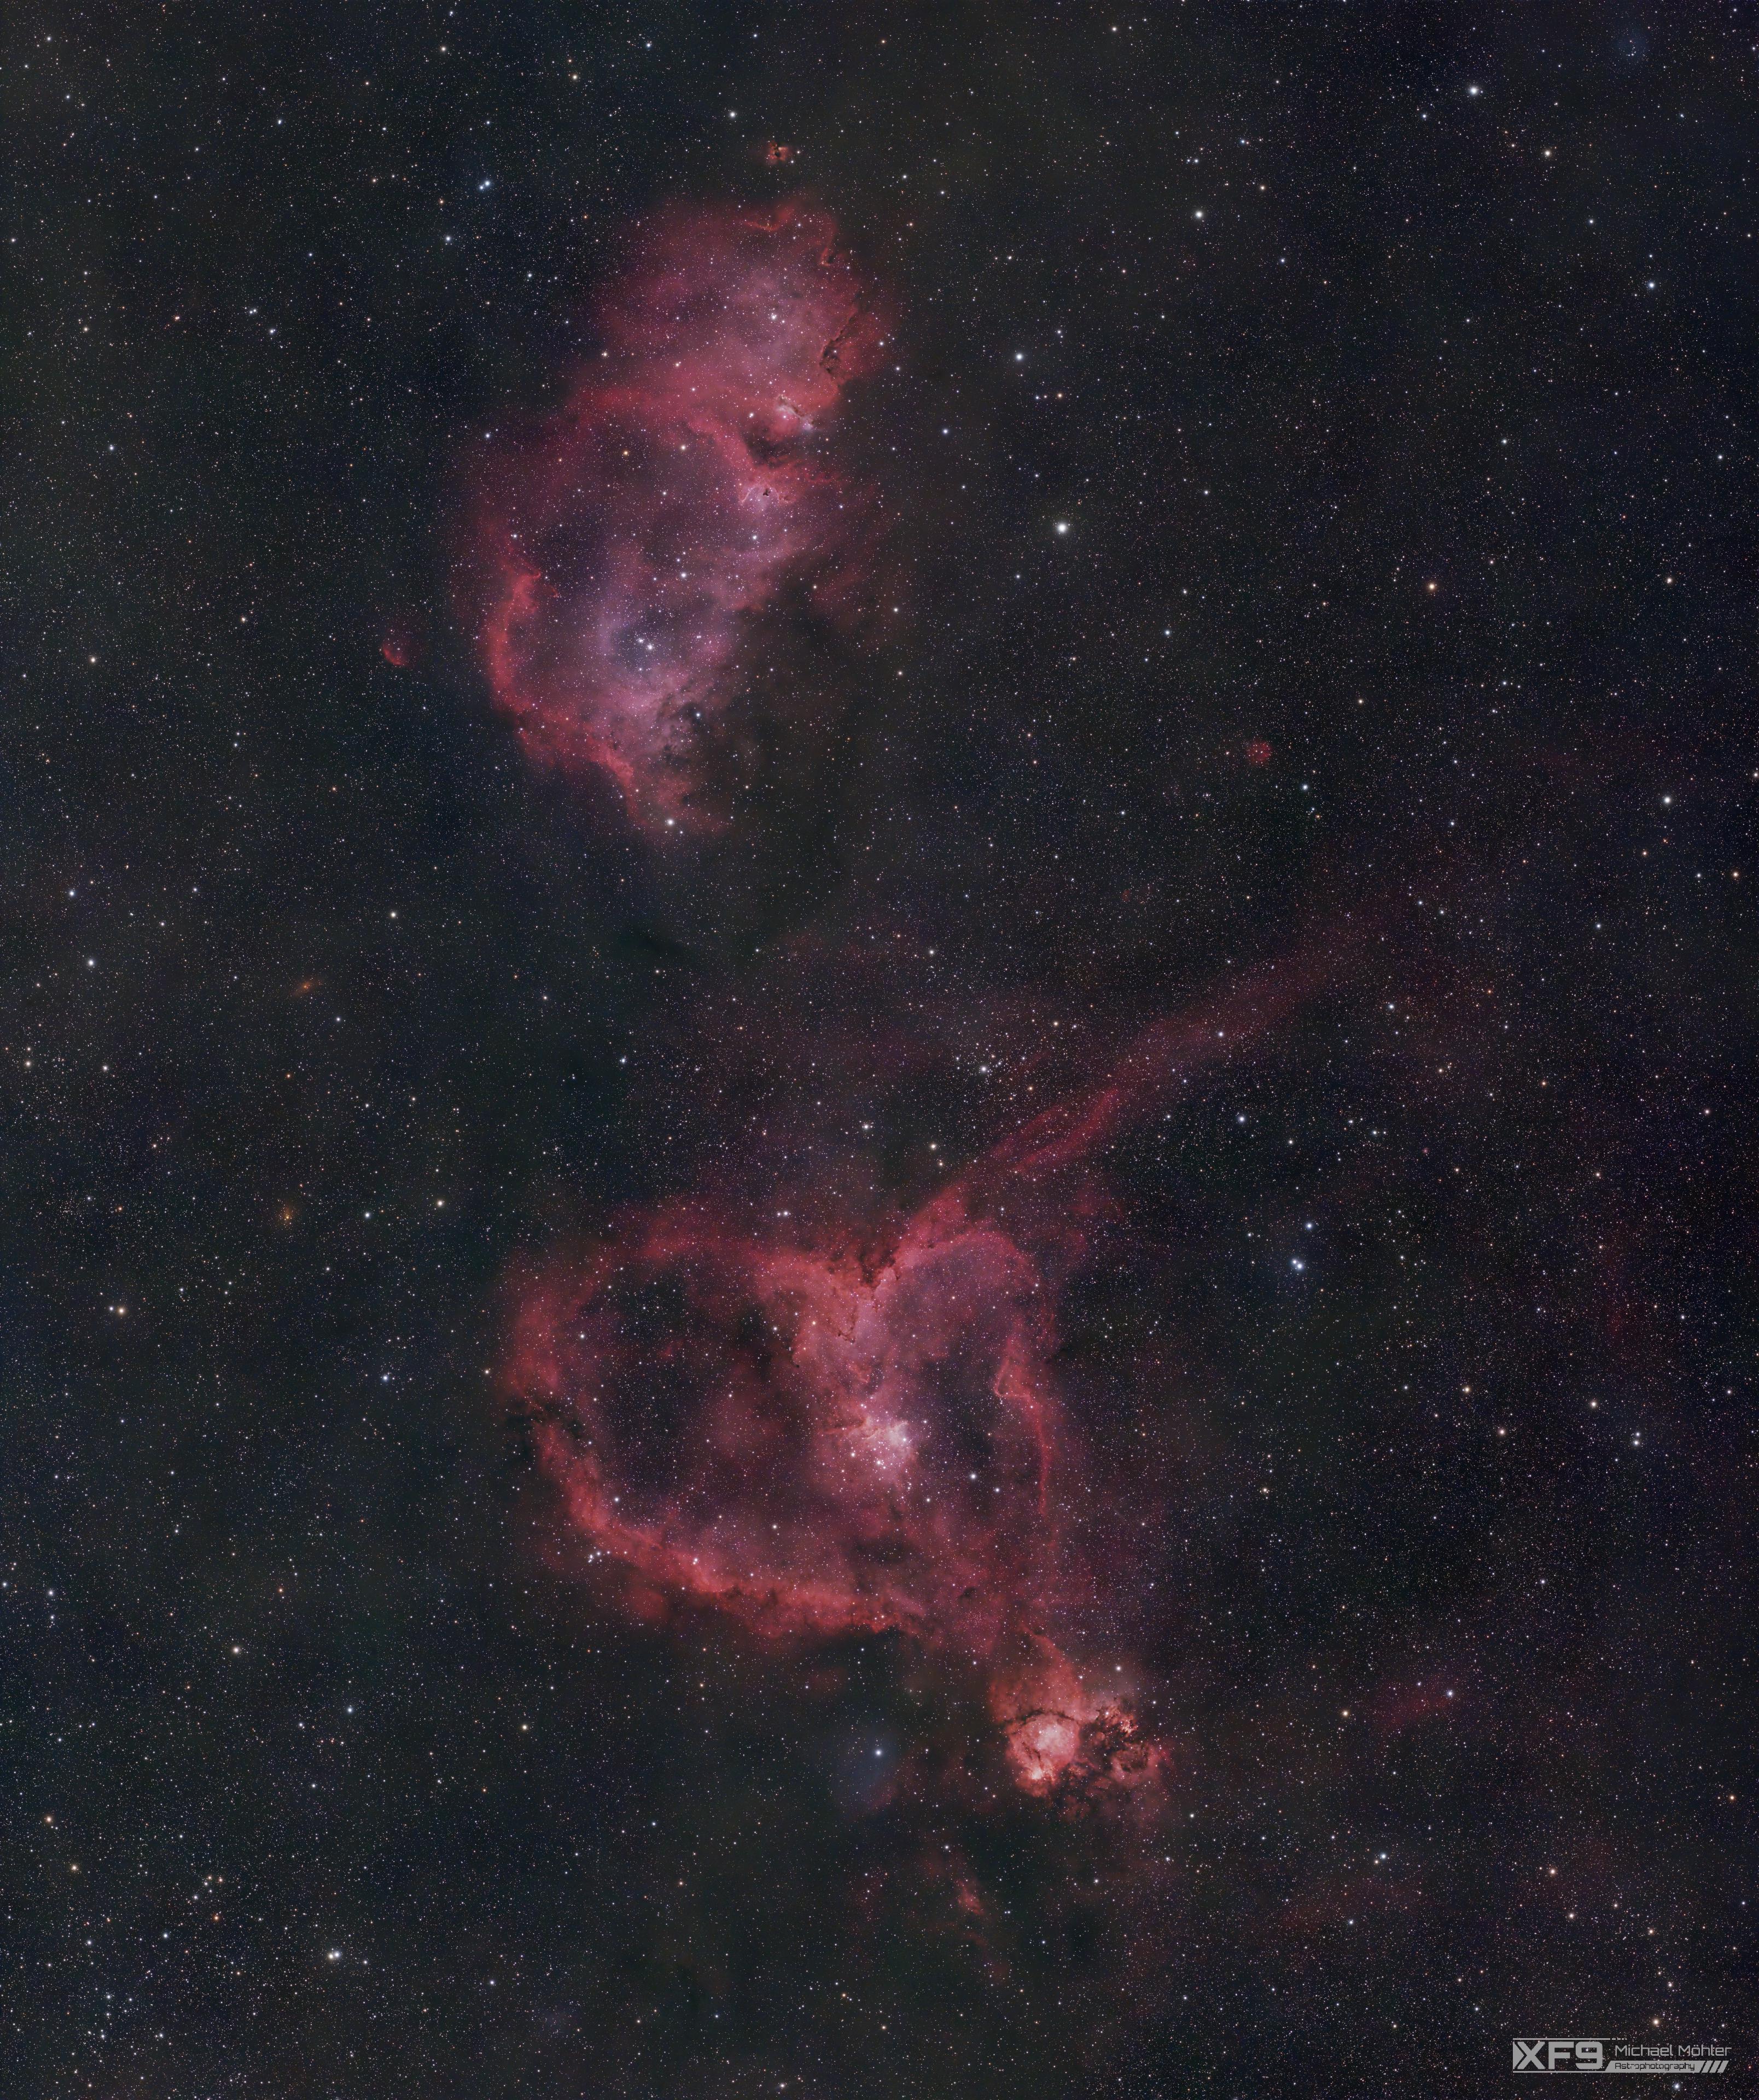
The full image
Both nebula do make quite a nice pair, so it opted to image both in a single frame. I won’t bother you with the intricacies of how I took the image. But if you want these kind of information, you’ll find them after the image blow.
How I took the image
The Gear
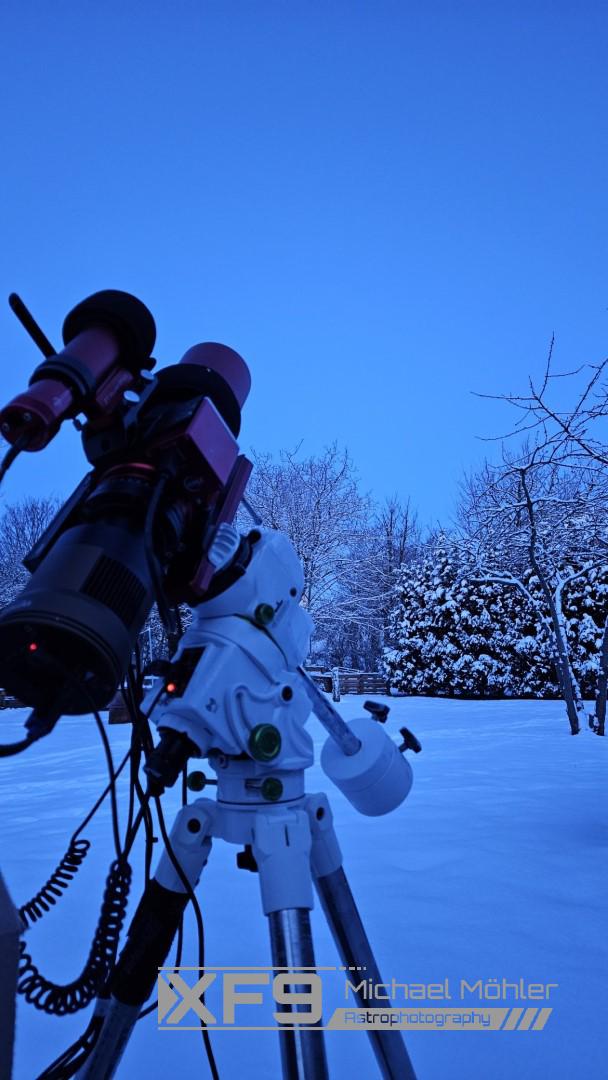
Some time ago I got an automatic focuser and a mini pc to run my imaging software which leaves me with the following gear:
| Scope | William Optics Redcat 51 |
| Camera | Omegon veTEC 571C |
| Mount | StarAdventurer GTi |
| Guidescope | William Optics UniGuide 32 |
| Guid camera | ZWO ASI 120MM Mini |
| Focuser | ZWO EAF |
| Capture software | N.I.N.A. on a Mele Quieter 3C |
Capturing
As you can see in the image above it was quite cold, which is good for image acquisition since there is less wobble in the atmosphere. I also started to shoot during the new moon but due to good weather I could continue over several nights. In total I was out there for 5 nights but could only utilise half of the time due to issues with the new gear and software changes. But I guess that’s life for an astrophotographer - there are always things to learn :)
I use N.I.N.A. as capturing software. Since this is a 2 panel mosaic I tried the advanced sequencer for the first time to switch between both panels every two hours. This didn’t go to plan as in one night it failed to plate solve and did shot the wrong thing for half the night. Another half night was wasted because windows thought the middle of the night is a fine time to restart the pc for updates ..
But all in all I captured something above 9 hours per panel, so just shy of 19 hours in total.
Processing
Creating a mosaic in PixInsight
Now comes the part I thought would be way easier: I needed to combine the two panels into one large image. I started out by stacking each panel, crop it and use GraXpert to remove the gradients. Then I would use Microsoft ICE to stitch both panels together but this didn’t work out. So I ditched this idea and opted to try Pixinsight. This was on my to-try-list anyway and there’s no better time than today - isn’t it? I tried a few tutorials which would leave me with visible seams and I was close to giving up but on my 7th or 8th try I got it to work :)
In the end I used these two extensions:
- DnaLinearFit (Linked in David Ault’s mosaic tutorial)
- PhotometricMosaic (Download page for Photometric Mosaic)
Then I processed the panels as follows:
- Stack each panel, crop it and run a background extraction of your choice (I did choose GraXpert) so each panel is nice and even
- Solve each panel for the next step to work
- Run MosaicByCoordinates to align both panels
- Run DnaLinearFit to match the brightness of each panel
- Run TrimMosaicTile (comes with PhotometricMosaic) so there are no washed out borders
- Run Photometric Mosaic
After that I have a linear image which contains both panels. It required another crop and then I could run a color calibration next. After that I did give the RC Astro tools a try - these are like black magic. After that GHS to strecth the image and a bit saturation boost and I’m done.
Overall I’m quite pleased with the result and thrilled for my next project, whatever it may be :)